Anyone can burn a simple shape into wood. But creating complex artwork—fine filigree, tiny text, or photo-realistic textures—pushes both the machine and the maker to their limits.
Whether you are engraving a detailed map on slate or a delicate mandala on leather, precision is key. Based on the engineering capabilities of the TOOCAA ecosystem, this guide reveals the repeatable workflows professionals use to achieve crisp, high-contrast results every time.
The Science of Detail: It Starts with the Spot Size
Before you press “start,” you need to understand the limits of physics. Your smallest reliable line is governed by the laser’s spot size.
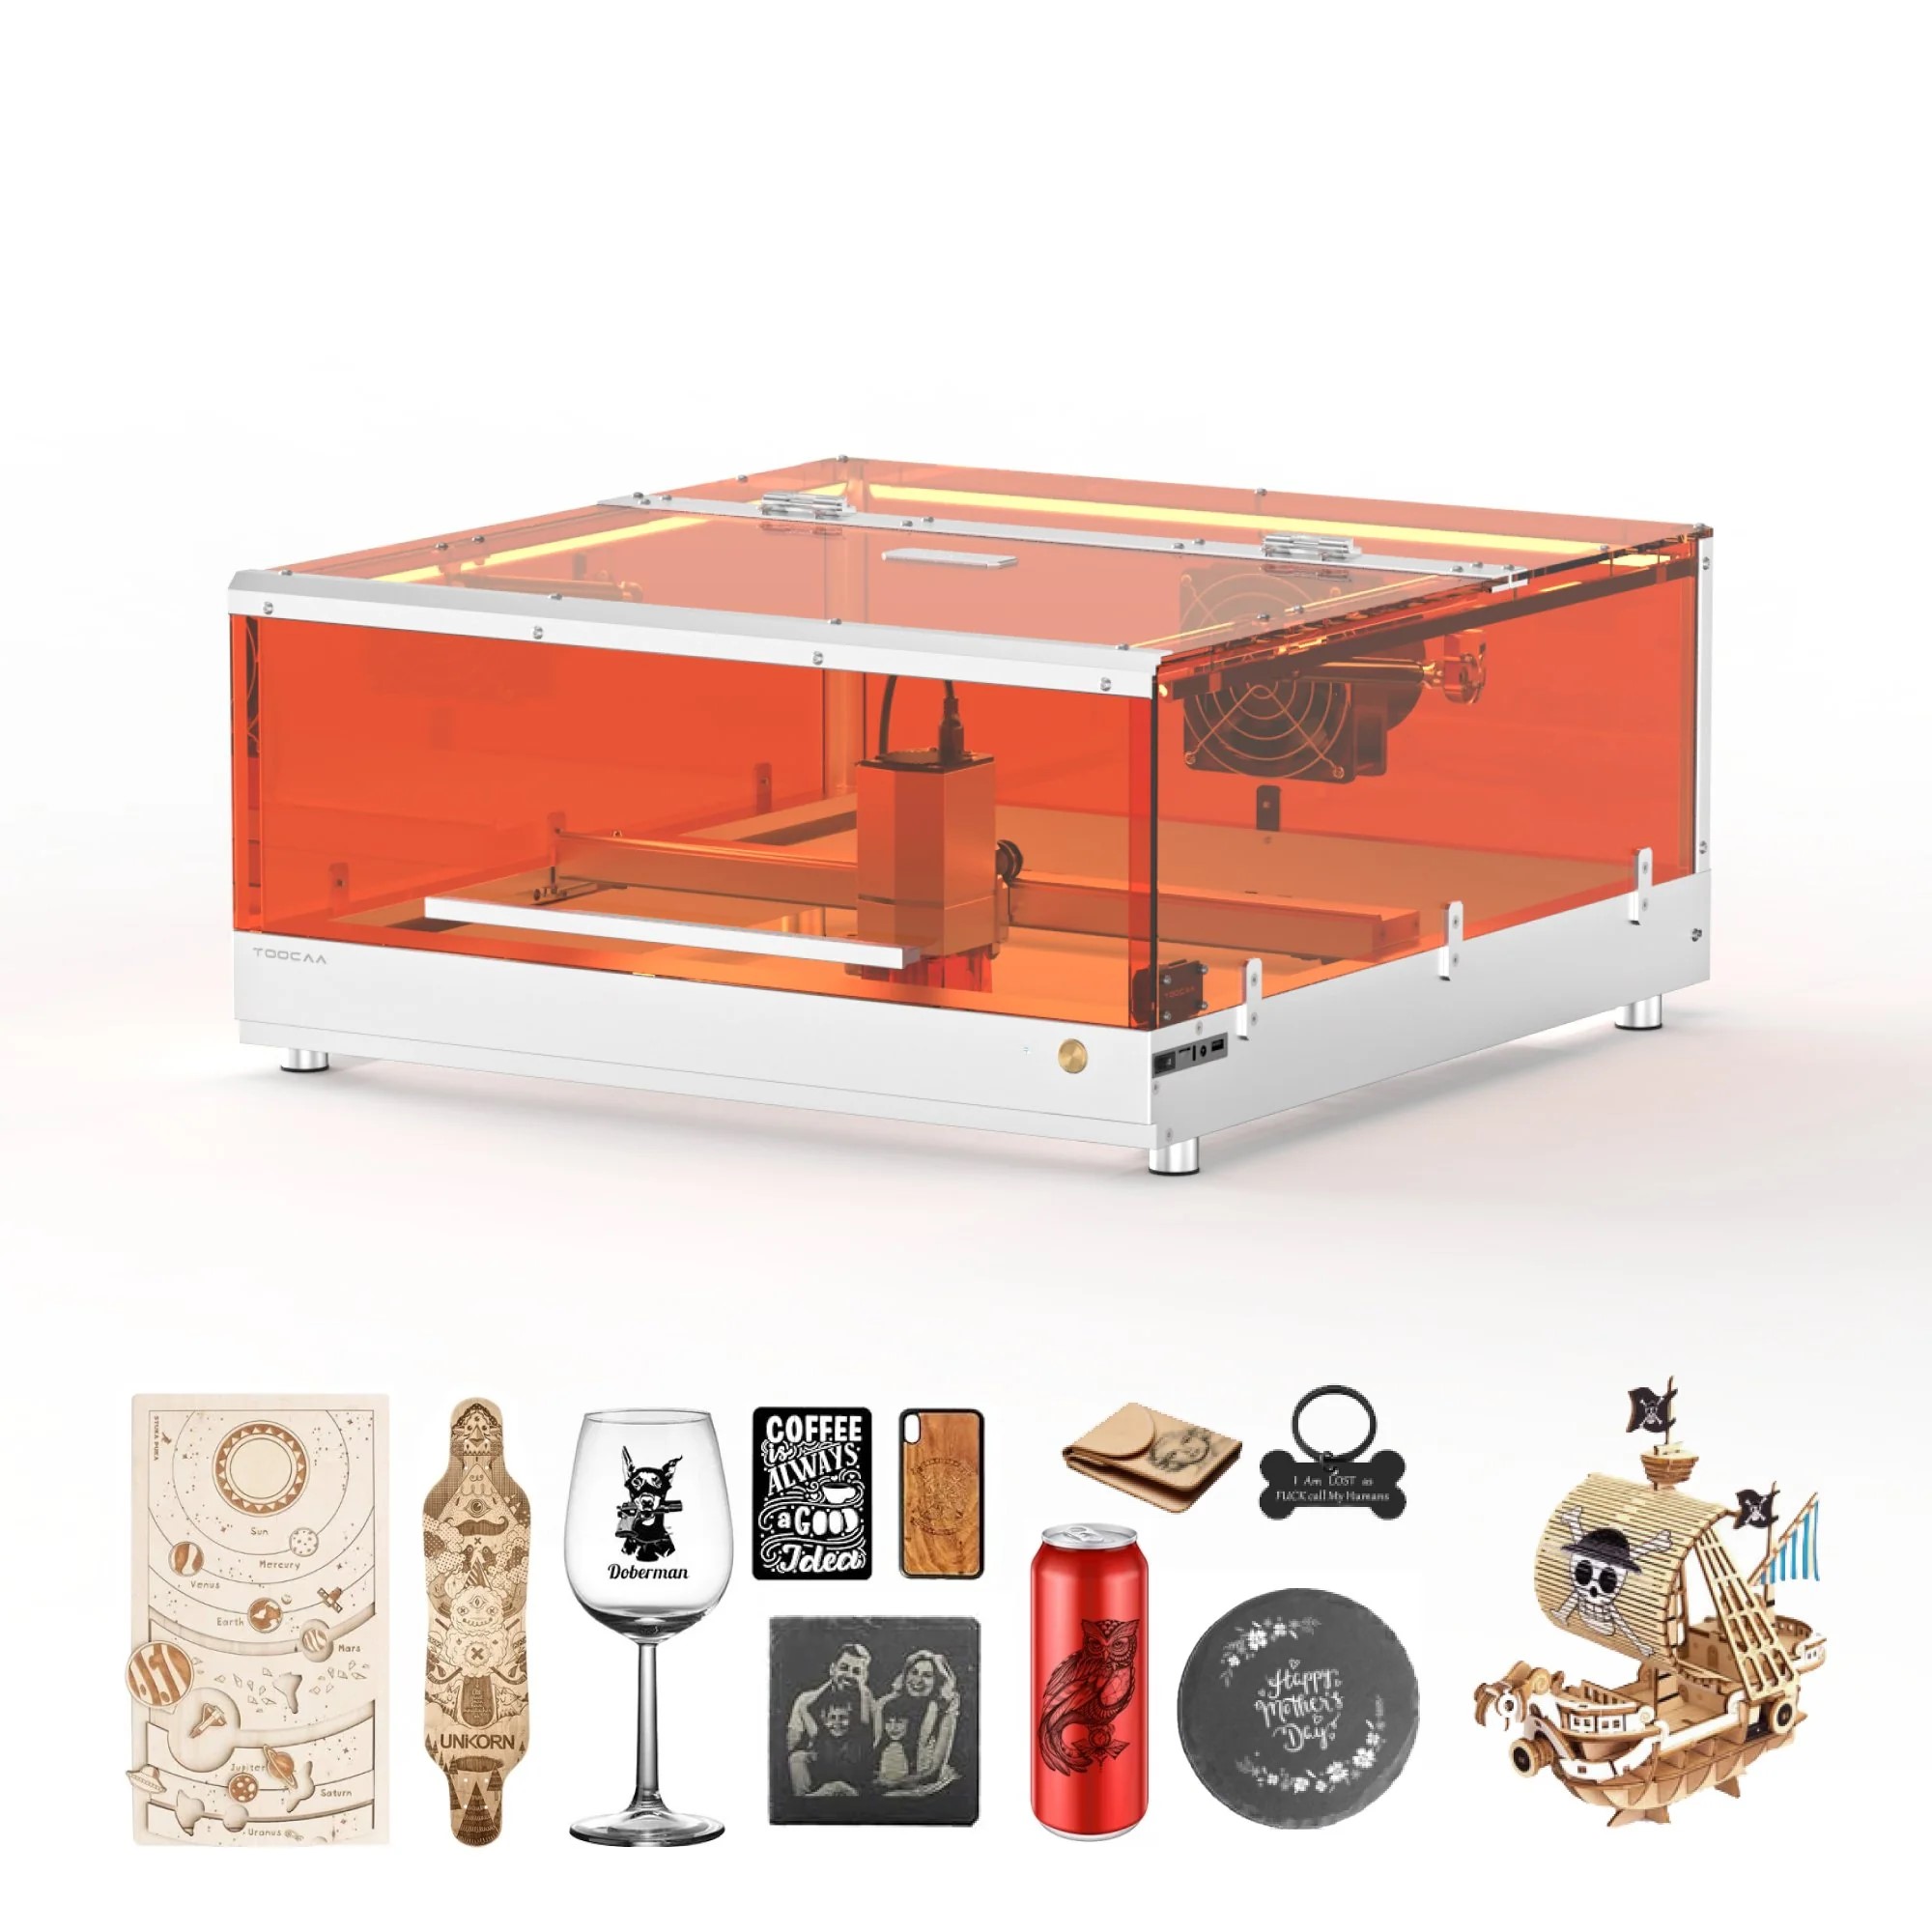
The TOOCAA L2 excels here because its diode modules are engineered for precision. The 10W module features an ultra-fine optical spot of about 0.08 × 0.18 mm, while the 20W module sits at 0.15 × 0.27 mm.
Pro Tip: When designing vector line art, avoid “hairlines.” As a rule of thumb, expand your strokes to be at least 2× the spot size of your laser module. This ensures the line is visibly crisp and doesn’t disappear during the burn.
The 4-Step Workflow for Perfection
To ship consistent results, you need a process, not just luck.
1. Prep Your Artwork
For logos and icons, always stick to vector formats like SVG, AI, or DXF. If you are engraving photos, you must use a “dithering” algorithm (like Jarvis or Stucki) to map the gray tones into burnable dots.
2. The “Test Grid” (Don’t Skip This!)
Never guess your settings. On a piece of scrap material, run a small “Test Grid” that varies power and speed.
Look for the “Sweet Spot”: You want the setting that gives the darkest contrast without charring the edges.
Save It: Once you find the perfect setting, record it as a “parameter card” for future use.
3. Fixture and Focus
Complex designs require a perfectly flat surface. Use a honeycomb bed secured with magnets or tape. Even a slight defocus can blur micro-lines, so double-check your focus height.
4. Engrave Light, Iterate Smart
Start with lighter power and faster speeds. You can always run a second pass to darken a design, but you can’t “un-burn” a piece of wood that was scorched on the first try.
Material-Specific Playbooks
Different materials react differently to the laser beam. Here is how to handle the tricky ones using the TOOCAA L2 Desktop Laser Engraver & Cutter.
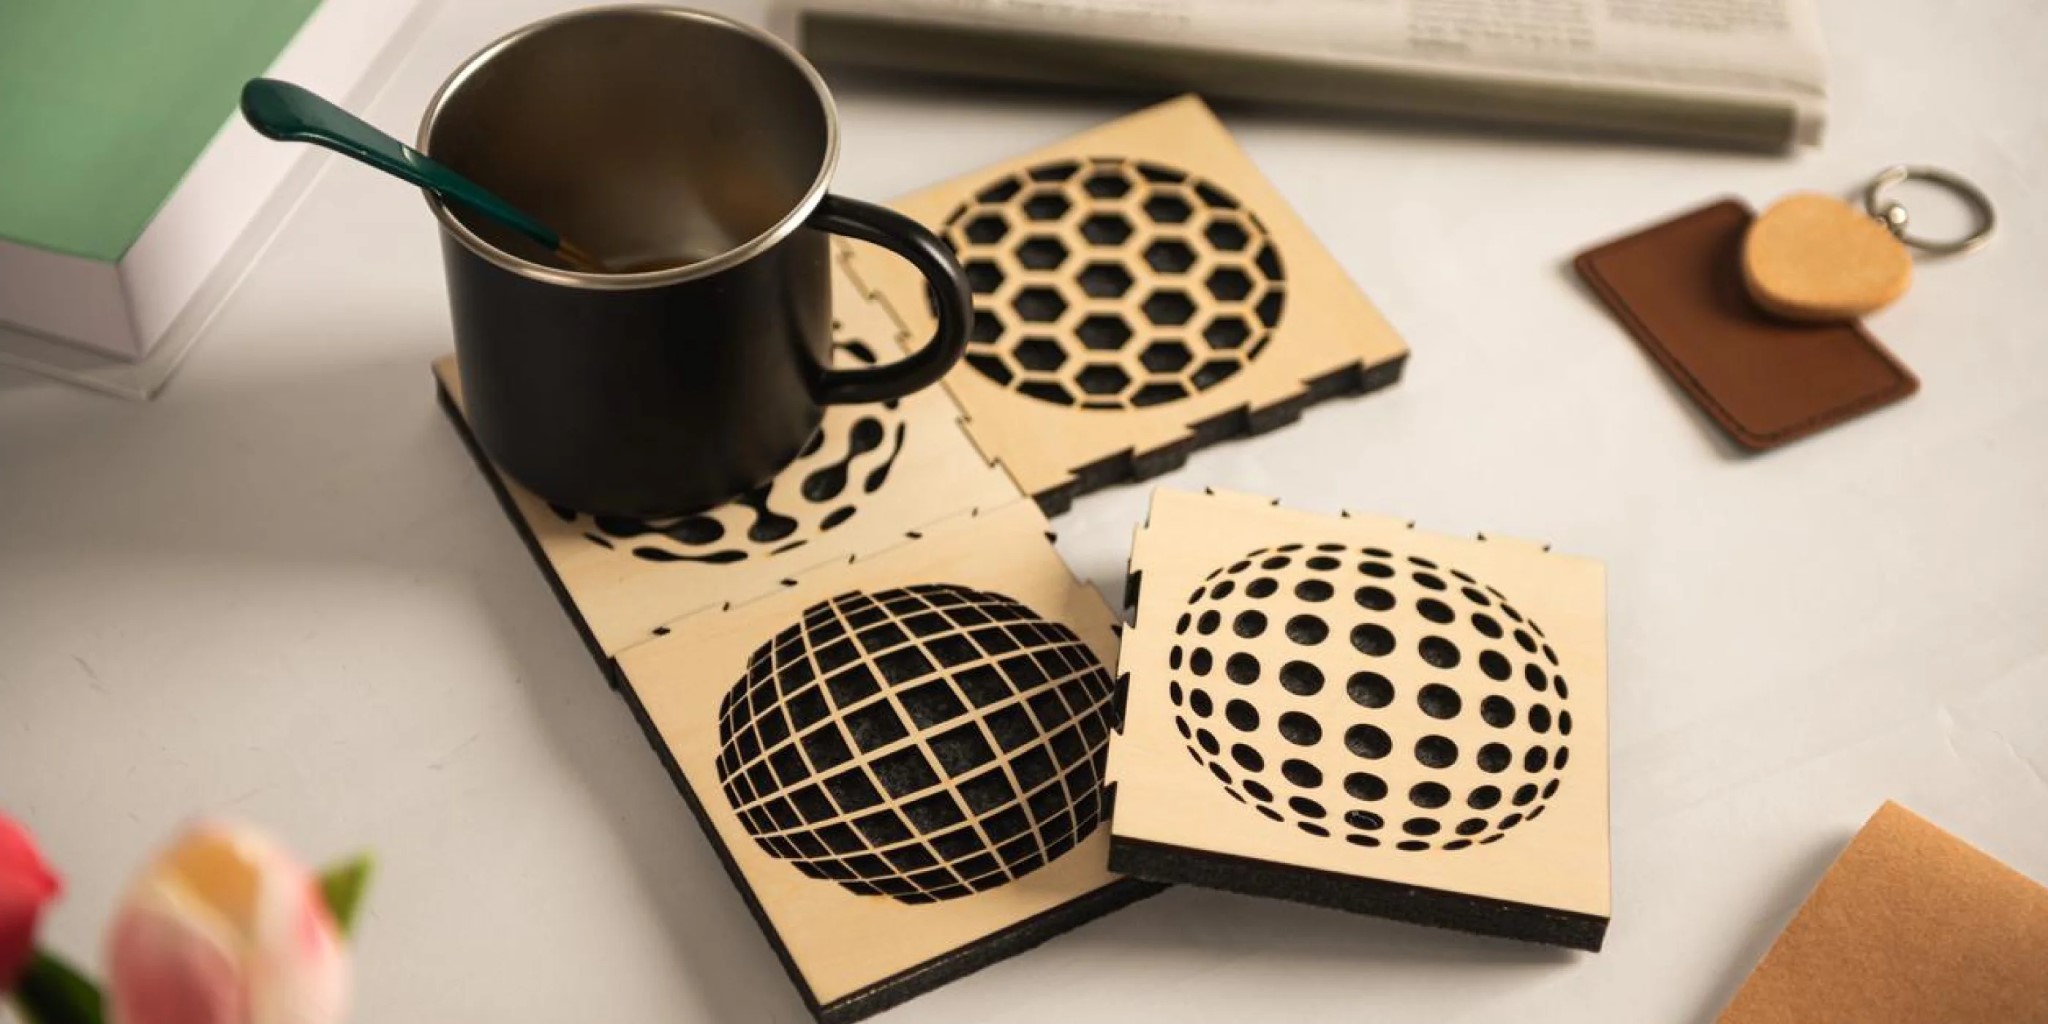
Wood (Hardwoods & Bamboo)
Goal: Crisp lines without over-charring.
Best Wood: Tight-grain hardwoods like maple or cherry hold micro-details better than porous woods.
Technique: Apply masking tape to the surface before engraving to reduce smoke staining.
Starter Settings (L2 10W): Try 40% Power / 3000 mm/min / 1 Pass for Basswood.
Coated Metals (Anodized Aluminum)
Goal: High contrast by removing the dye.
Mechanism: The laser vaporizes the coating, revealing the bright metal underneath.
Technique: Use tight line intervals (e.g., 0.05–0.10 mm) for filled areas to avoid visible banding.
Starter Settings (L2 10W): 100% Power / 200 mm/min for Anodized Aluminum.
Stone (Slate & Granite)
Goal: A natural, etched look.
Technique: Stone requires slower movement and higher power. Slate is particularly forgiving and offers fantastic contrast as the engraved area turns light grey.
Starter Settings: Run a test grid, but expect to use higher power settings than you would for wood.
Acrylic & Plastics
Goal: A “frosted” look without melting.
The Danger: Plastics hold heat. If you go too slow, they melt or curl.
The Fix: Keep your Air Assist ON to cool the material and clear debris. Scan fast and use multiple light passes if needed.
Starter Settings (L2 10W): 50% Power / 3000 mm/min for 4.5mm Black Acrylic.
Software: The Brain Behind the Laser
To handle complex layers and dithering, you need capable software. The L2 is fully compatible with LightBurn and LaserGRBL.
However, for many users, TOOCAA Studio is the best starting point. It simplifies the interface while offering powerful features like Camera Assist, which is invaluable when trying to align a complex design onto a specifically shaped object.
Troubleshooting Fine Details
Even with the best settings, things can go wrong. Here is a quick checklist:
Edges Look Fuzzy? Check your focus and clean your lens.
Contrast Too Low? Slow down or add a second pass.
Smoke Stains? You likely forgot the masking tape or need to turn up the Air Assist.
Plastic Melting? Lower the power and increase the speed to dissipate heat.
Final Thoughts
Engraving is an art of patience. When you master the principle of minimum feature size, learn to fixture perfectly, and develop the habit of recording your settings, complex laser engraving no longer relies on chance.