Introduction
When Apple launched macOS 12 Beta, people were expecting to get a solution for NTFS write support. However, their expectation was overlooked by the Apple team as they were not able to provide such support.
Before we can get into more detail over the macOS and NTFS, here is a short explanation of NTFS to ensure that everyone is on the same page.
What Is NTFS?
NTFS is the abbreviation of the NT File System. It was introduced in the market by Microsoft with Windows NT 3.1. Since then, NTFS has become the standard file system.
As Microsoft is the sole proprietary of the NTFS file system, Apple needs a license to use it in their MacBook. Sources said that Apple has already tried getting the license but could not due to the high price.
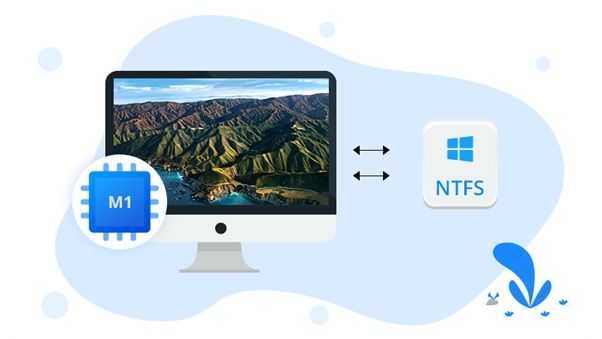
Hence, MacBook users cannot use the file from the NTFS drive. Yes, they can access the file and initiate a read-only function, but that’s all there is. The Mac user who deals with data being shared from different operating systems uses third-party software tools like iBoysoft NTFS for Mac to access and calibrate read/write functions.
What Can Be Done to Enable NTFS Write Function on Mac?
After waiting for so long, the wait of the user was not rewarded. Finally, macOS 12 Beta was launched and launched without NTFS write support function. Fortunately, there are ways to enable the NTFS write function on your Mac with previous macOS like macOS Big Sur, Catalina, etc.
1. Third-Party Software
There is several third-party NTFS for Mac software that allows Mac users to access NTFS drives. With the sheer number of software, the market offers, you might get confused about choosing one. If you find it hard to get NTFS software for your need, why don’t you take out recommendations and go with iBoysoft NTFS for Mac software?
iBoysoft NTFS for Mac software gives you a seamless experience with faster processing.
- Download the software on your device.
- Restart your device, before that, save all your files and windows first.
- The iBoysoft NTFS for Mac scans the drive and prepares it as read-write mode for the users.
2. Apple’s Experimental Feature
Although Apple does not have an official solution to the NTFS write function, they do offer an experimental feature that can be used to enable NTFS writing capabilities. This method requires the use of a command line. This method is very complex and time-consuming; thus, we sincerely don’t suggest you doing so. If you still insist, here are the steps.
- Open Terminal.
- Type: sudo / nano / etc/fstab.
- Go to the next like and type: LABEL=DRIVE_NAME none NTFS rw, auto, nobrowse
- The drive name will be replaced by the NTFS Drive name.
- Press Control+O on your Mac keyboard
- Press Control+X on your keyboard
- Open Finder on your Mac
- In Finder, select ‘Go’ in the menu bar
- From the Go menu, select ‘Go to Folder’
- Enter this in the “Go to the Folder” field: /Volumes/NAME
- Select ‘Go’
- Exit Terminal.
Note: While you are adding the drive name, there shouldn’t be any spaces between the name.
However, if the drive’s name is complex and has spaces in between, you can use the UUID to enable NTFS write support.
3. Format the NTFS Drive To FAT
If you don’t want to go through such a complex procedure, you can simply convert the file type of the drive. You may have a built-in app named Disk Utility. This app helps the mac user with the convenient conversion of the file.
While you are pursuing this method, you must know that FAT is not as efficient as NTFS. In fact, while you are converting NTFS drive to FAT, you are losing data if you don’t have any backup. One simple mistake, and you might lose all your data from the drive.
Start Using NTFS On Your Mac
With this article, you have now been armed with the essential knowledge that you need to enable NTFS write function in your Mac. You can try out the methods that we have outlined in this article, and let us know your experience and which methods were more effective. As far as we are concerned, NTFS for Mac developed by iBoysoft is our first choice given its safety and efficiency.
In addition to that, we would like you to make a data backup to keep your data safe if something worse happens. It is better safe than sorry.