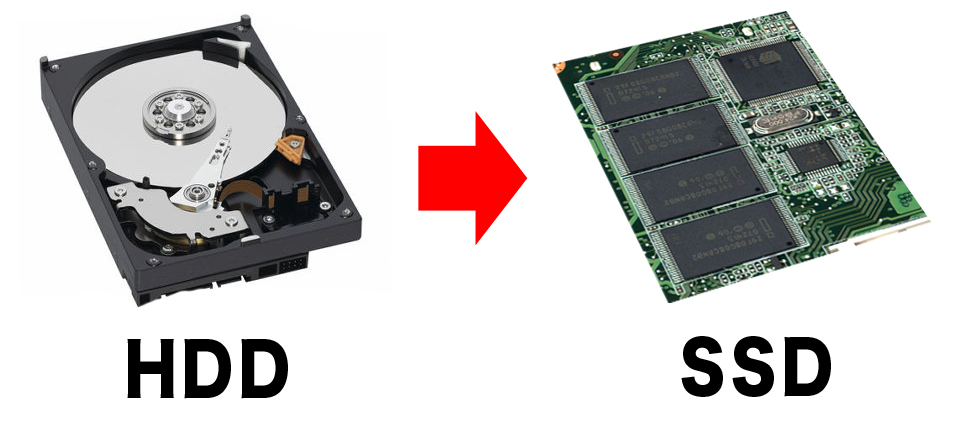
I’ve written previously about slow computers and about the benefit of upgrading your old hard drive to a Solid State Drive (SSD). Now I’d like to look at how you actually go about doing this.
In order to upgrade your computer from having a traditional SATA hard drive to an SSD you first need to replace the hard drive and following this you reinstall the operating system. You could clone the contents of your old drive to the new SSD but for the purpose of this article I shall assume we’ll carry out a fresh install of the operating system on the SSD. I shall describe the basics of how to do this and it’s up to you as to whether you think you could do this yourself. If not, I’m always available to assist.
Replacement of the Hard Drive
Physically replacing your old hard drive with an SSD can be relatively straightforward or it can be a little more difficult, depending on the type of computer you’re upgrading.
Most straightforward is a typical desktop tower computer. In this case you’ll simply remove the side of the computer, locate the existing hard drive, remove the screws holding it in position and then disconnect two cables plugged into the drive. One cable is for power and the other is for data. Then connect these cables to the corresponding positions on your new SSD. You’re also likely to need a mounting bracket for your SSD which enables the 2.5″ SSD to fit into a 3.5″ hard drive bay in your desktop tower. This means you can screw the SSD neatly into the same position in the tower previously occupied by the hard drive. Alternatively, you may have a 2.5″ bay built in to your desktop tower.
If you’re upgrading a laptop, the complexity of the procedure varies greatly from laptop to laptop. You may be advised to look for a video on the internet describing how to access the hard drive. Generally speaking you’ll need to remove the screws from the base of the laptop and carefully open it up, taking care not to damage any internal ribbon cables as you do so. Then locate the existing hard drive, remove the screws holding it in place, disconnect the power and data cables, and replace it with the SSD. In this case the drive you’ll be removing is also 2.5″ so it will be a straight swap for the SSD.
The final category of computer you might be upgrading would be an all-in-one desktop. These include both Windows all-in-one computers and iMac’s. Again you may be advised to search for suitable instructions on the internet in order to establish how to disassemble the computer.
In the case of most Windows all-in-one desktops you’ll remove the base and then the back of the computer in order to access the hard drive. In the case of an iMac you’ll be accessing the hard drive from the front which will involve first removing the glass and LCD. In both cases you’ll then remove the screws holding the hard drive in place, followed by the power and data cables, and then swap out the drive for your new SSD. As with the procedure for a desktop tower, you’re likely to require a mounting bracket in order to be able to screw the SSD neatly into your computer before reassembling it.
Reinstallation of the Operating System
Having replaced your old hard drive with the new SSD and reassembled the computer you’re now ready to install the operating system. In order to do this you’ll need to create Windows 10 or macOS installation media, which could either be on a USB or a disk.
If you’re running Windows you can download Windows 10 and create your installation media by following Microsoft’s instructions on their Windows 10 download page. Note that if your computer is currently running Windows 7 you can upgrade to Windows 10 and activate this at no cost using your existing Windows 7 license key.
If your computer is a Mac you’ll first need to check what is the latest version of the macOS which can be installed on your model. Then follow Apple’s instructions to create the installation media.
Having created your installation media you’ll need to insert the USB or disc into your computer and boot from the installation media. You may need to search the internet for instructions on how to do this and the steps you’ll need to follow during the installation. Then follow the instructions to install Windows 10 or macOS. When you restart your computer, you’ll have a clean installation running on a much faster computer which should really have the feel of a brand new computer.
This has been a very top-level overview of the procedure involved in upgrading the hard drive in your computer from a traditional SATA drive to an SSD. Depending on your level of technical expertise and confidence you may be able to do this yourself. If not, you’ll need the services of a local computer repair technician. In most cases the procedure described here would take little more than an hour.
This article was written by Norm McLaughlin, founder of Norm’s Computer Services, a local computer repair business in Brisbane Australia.
