The worlds of technology and nature are colliding in fascinating ways. For the tech enthusiast with a green thumb, or the desire to develop one there’s a new frontier to explore right at home: automated hydroponics. This isn’t just about growing plants; it’s about creating a self-sustaining ecosystem powered by code and sensors. It’s the ultimate DIY project that rewards you with fresh produce.
So, before we get our hands dirty with wires and water pumps, let’s explore why building a smart garden is a project worth your time.
Why Automate Your Garden? The Tech Advantage
The core idea behind a smart hydroponic system is simple: use technology to provide plants with exactly what they need, precisely when they need it. This data-driven approach removes the guesswork that often discourages new gardeners. Instead of wondering if you’ve overwatered, your system knows.
Automation offers consistency that is difficult to achieve manually. A microcontroller, like a Raspberry Pi, can monitor and adjust light cycles, nutrient levels, and water flow 24/7. This creates a perfect, stable environment, leading to faster growth and healthier plants. Plus, let’s be honest, there’s immense satisfaction in writing a few lines of code and watching a physical system respond.
Ready to build? Let’s assemble our toolkit.
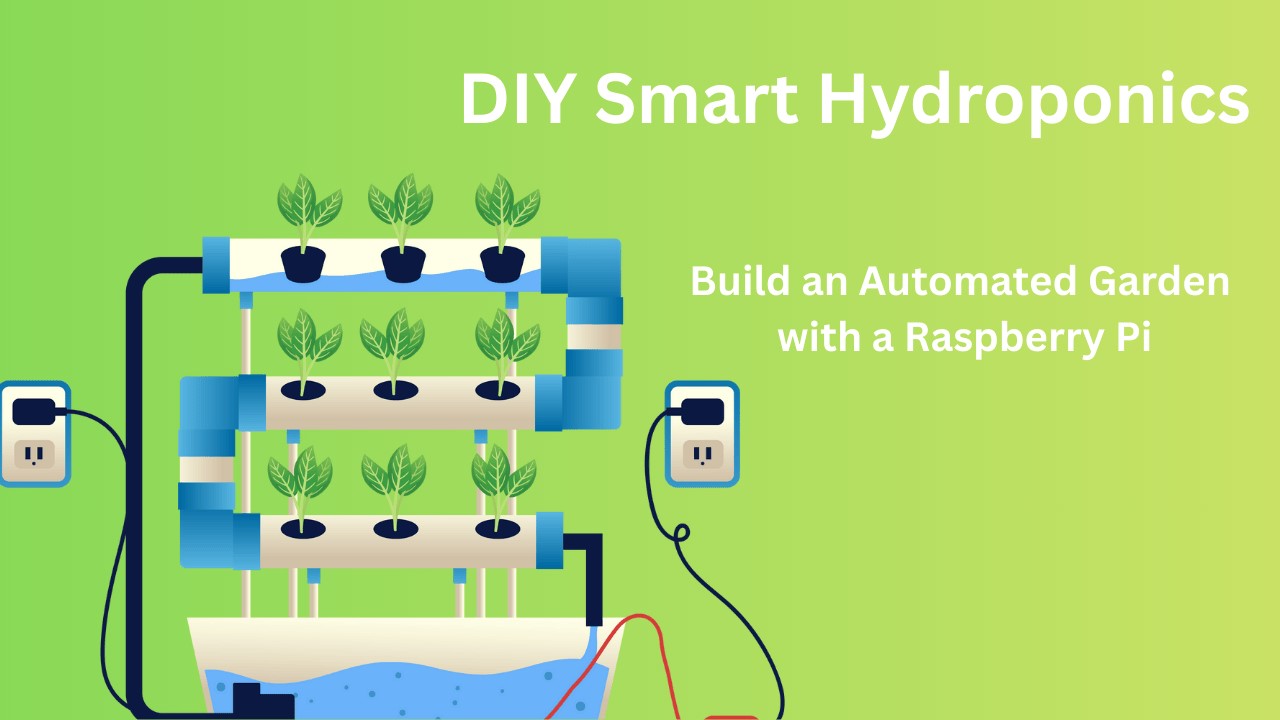
Gathering Your Core Components
A smart hydroponics setup can be broken down into a few key parts. You don’t need a state-of-the-art lab; most components are affordable and widely available online.
- The Brain: This is your microcontroller. A Raspberry Pi is a fantastic choice because it’s a tiny, full-fledged computer that can run a simple operating system and is easy to program using Python. An Arduino is another excellent, more hardware-focused alternative.
- The Senses: These are your sensors. At a minimum, you’ll want a water temperature sensor and a pH sensor to monitor the nutrient solution. You can also add light sensors, humidity sensors, and even a camera to monitor crops’ growth remotely. See the detailed “how to grow” guide from here: https://hydroponics360.com/crops/.
- The Body: This is the physical structure. It includes a water reservoir (a simple storage tote works well), a small submersible water pump, vinyl tubing to circulate water, and a grow container like a PVC pipe or a deep water culture (DWC) tub.
- The Fuel: This is the hydroponic nutrient solution. It’s a mix of minerals and nutrients that you’ll add to the water, replacing the role of soil.
With all your parts on the table, it’s time to bring your smart garden to life.
Programming Your Garden’s Brain
You don’t need to be a software engineer to program your garden. The logic is straightforward and based on simple “if-then” statements. Using Python on the Raspberry Pi is a popular and beginner-friendly approach.
Your basic script will run in a loop, performing these checks:
- Read Sensor Data: Every few minutes, check the values from the pH and temperature sensors.
- Control the Pump: Program a timer to turn the water pump on for a set duration (e.g., 15 minutes every hour) to ensure the plant roots get nutrients and oxygen.
- Log the Data: For a truly smart system, have your script save the sensor readings to a file. This allows you to track the conditions over time and see how your plants respond to different nutrient levels or temperatures.
For those looking for inspiration or pre-written code snippets, the DIY community is a fantastic resource. Your system is built, programmed, and ready to go. Now for the final, most rewarding step: planting.
The Step-by-Step Assembly Guide
Connecting the hardware is often the most rewarding part of the process. Think of it as building a custom computer, but one that grows lettuce.
- Construct the Physical System: First, set up your reservoir and grow bed. If you’re using a DWC system, this involves cutting holes in the lid of your tote for net pots. For a nutrient film technique (NFT) system, you’ll arrange your PVC pipes to allow water to flow from one end to the other, eventually draining back into the reservoir.
- Wire the Electronics: Connect your sensors and the water pump to the Raspberry Pi’s GPIO (General-Purpose Input/Output) pins. The pump will need to be controlled via a relay, which acts as an electronic switch that the Pi can safely turn on and off.
- Position the Sensors: Place your pH and temperature sensors directly in the water reservoir so they can provide constant, accurate readings. Ensure all electronic connections are well away from the water to prevent any shorts.
The hardware is assembled, but the magic truly happens in the code.
Choosing Plants and Launching Your System
With your automated environment ready, the final piece of the puzzle is selecting what to grow. Not all plants thrive equally in a soil-free environment; in fact, selecting species specifically suited for hydroponics can increase your success rate, making the choice of “the right crops for your setup” a critical first step. Leafy greens like lettuce, spinach, and kale are excellent for beginners, as are herbs like basil and mint.
Once your seeds have sprouted in starter plugs, place them in the net pots, fill the reservoir with water and your nutrient solution, and power on your Raspberry Pi. Your automated garden is officially online.
Frequently Asked Questions
1. Is this project expensive to start?
The initial cost can range from $75 to $200, depending on the components you choose. A Raspberry Pi Zero is a very affordable “brain,” and using a simple storage tote for your reservoir keeps costs down. The investment pays off in both fresh produce and an incredible learning experience.
2. Do I need to be an expert coder to do this?
Not at all. The logic for a basic system is very simple, and the Python programming language is known for its readability. There are countless free tutorials and code examples online specifically for Raspberry Pi-based automation projects that you can adapt.
3. What is the most common mistake beginners make?
The most common mistake is neglecting the nutrient solution. While the system is automated, you still need to monitor the pH and nutrient concentration (EC/PPM) weekly. The solution will need to be topped off with fresh water and completely replaced every 2-3 weeks to ensure plants get the right balance of food.
4. How much maintenance does an “automated” system actually need?
“Automated” refers to the moment-to-moment operations like watering and monitoring. You’ll still need to perform weekly check-ins to refill the nutrient reservoir, check for pests, and ensure the hardware is running smoothly. It reduces daily chores to a more manageable weekly routine.