

How to Upscale Image Resolution: What Works and Why
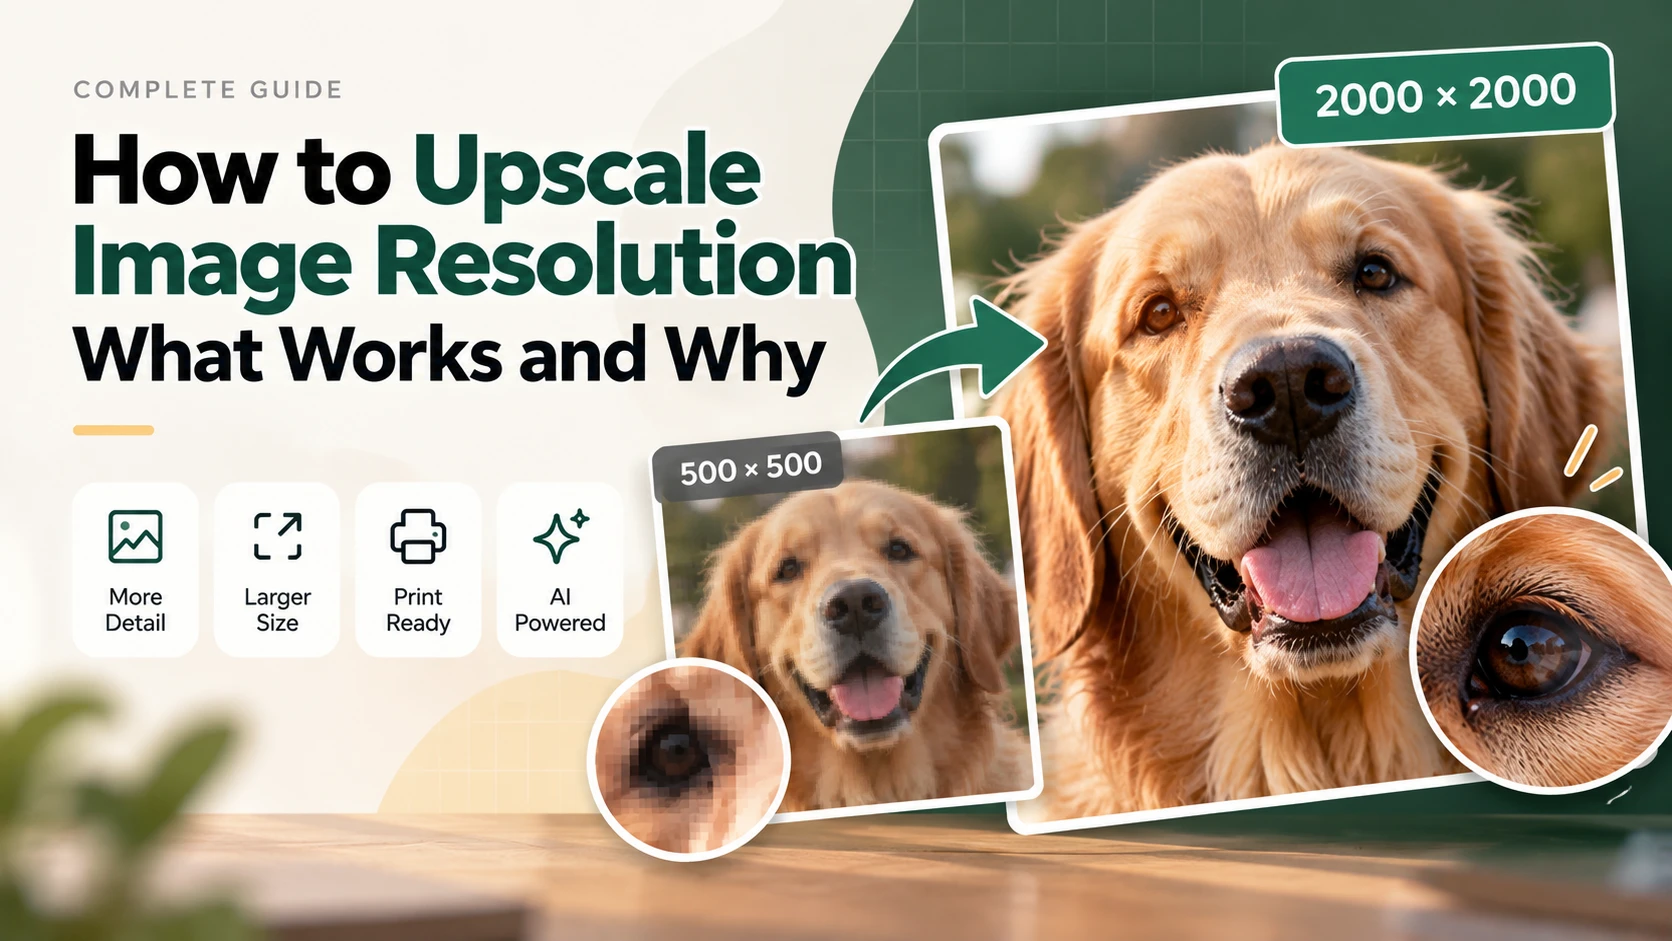
Resolution is one of those technical terms that gets used loosely in everyday conversation — “low resolution” can mean a blurry photo, a small file, a compressed image, or all three at once. Getting clarity on what resolution actually means, what limits it, and how to increase it effectively is the practical starting point for anyone who needs larger, sharper images for print, display, or marketplace use.
What Image Resolution Actually Means
Resolution describes how many pixels an image contains. A 2000×1500 pixel image has 3 megapixels — 3 million individual color values arranged in a grid. The more pixels, the more detail can be represented, and the larger the image can be displayed or printed before it starts to look soft.
Resolution and file size are related but not the same thing. A large JPEG file can have fewer pixels than a smaller PNG — file size is affected by compression, not just pixel count. When people talk about upscaling image resolution, they mean increasing the actual pixel dimensions, not just the file size.
DPI (dots per inch) is a separate concept that applies to print output. A 300 DPI print means 300 pixels per inch of physical output. To print a 10×8 inch photo at 300 DPI, you need a 3000×2400 pixel source. The same image displayed on screen uses the screen’s own pixel density — typically 72 to 220 PPI depending on the monitor.
Why Low Resolution Happens
Images end up at insufficient resolution for several predictable reasons:
- Original capture limitations — cameras from the 1990s and early 2000s produced 1–3 megapixel images that look fine at small sizes but fall short for modern displays and print
- Cropping — a tight crop removes the majority of pixels from an otherwise high-resolution shot; a face cropped from a full-body photo can easily drop to 600×800 pixels
- Supplier and manufacturer images — product photos distributed to resellers are often 500–800px, adequate for catalog preview but below marketplace zoom requirements
- Web-optimized downloads — images saved from websites or social media are typically compressed and reduced in size for fast loading
- Format conversion losses — repeated re-saving as JPEG, or screenshotting rather than exporting, progressively degrades both quality and effective resolution
Methods for Increasing Image Resolution
| Method | How It Works | Result Quality | Best For |
| Basic interpolation (bilinear/bicubic) | Averages between existing pixels to fill new ones | Soft, blurry at 2x+ | Slight size adjustments only |
| Lanczos resampling | Wider pixel sampling, better edge preservation | Better than basic, still limited | Traditional software fallback |
| AI super-resolution | Neural network predicts fine detail from patterns learned across millions of images | Sharp, detailed, reconstructed texture | Photos, product images, scans, portraits |
For practical purposes, AI super-resolution is the method worth using for any photo that needs to look good at the output size. Traditional interpolation is still fine for slight enlargements or non-photographic content like flat graphics and icons.
Resolution Requirements by Use Case
| Use Case | Minimum Pixels Needed | Notes |
| Amazon product listing (basic) | 1000px on longest side | Required minimum |
| Amazon zoom feature | 1600px on longest side | Significantly affects conversion rate |
| Etsy listing (recommended) | 2000x2000px | Platform recommendation for best display |
| 4K display asset | 3840x2160px | Native 4K resolution |
| A4 print at 300 DPI | 2480x3508px | Standard quality print |
| A3 print at 300 DPI | 3508x4961px | Requires upscaling for most phone photos |
| High-res web hero image | 1920px wide minimum | Retina displays benefit from 2x this |
How to Upscale Image Resolution with AI
The process is straightforward with a browser-based tool:
- Start from the best available source — the highest-quality, least-compressed version of the image you have. JPEG artifacts in the source become more visible at larger sizes.
- Choose your scale factor based on the gap between source and target. A 500px supplier photo needs 4x to reach 2000px for marketplace zoom. A 1920px display asset needs 2x to reach 4K.
- Upload and process. AI upscaling typically completes in a few seconds for standard photo sizes.
- Check the output at full size before using it. Verify fine detail areas — texture, edges, text — look sharp rather than artificially smooth.
- For web use, compress the output after downloading to avoid unnecessarily large page payloads.
To upscale image resolution directly in your browser, the Phototune upscaler offers 2x and 4x AI upscaling with no sign-up required — upload your photo and download the full-resolution result in seconds.
Common Questions
Can upscaling fix a blurry photo? Upscaling increases pixel count but doesn’t correct optical blur — an out-of-focus photo becomes a larger out-of-focus photo. AI upscaling improves photos that are soft due to low resolution, not those that are soft due to focus problems.
Is there a limit to how much you can upscale? Technically no, but practically the quality of the result is bounded by the information in the source. A very small image (under 200px) has limited detail to reconstruct; a 4x upscale will be better than traditional interpolation, but the source constrains the ceiling. For most real-world sources — supplier photos, phone camera crops, moderate-resolution scans — a 4x AI upscale produces output that’s genuinely usable at the target size.
Does upscaling change the aspect ratio? No. A 500×500 image at 4x becomes 2000×2000. A 600×800 image at 4x becomes 2400×3200. The proportions are preserved exactly.

