About Error 0xc1900223
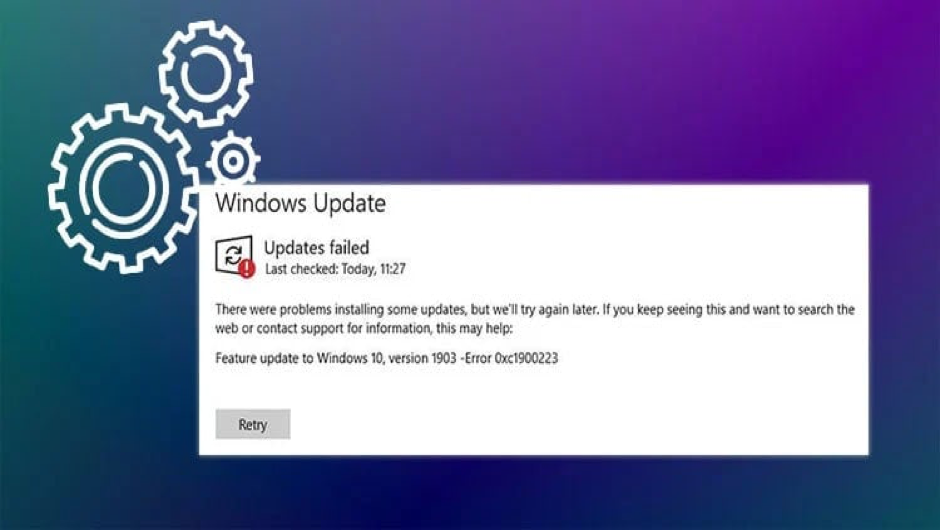
When trying to set up Windows Update manually, some Windows 10 users receive the error code 0xc1900223. The update of 1903 is being attempted to be installed by the user in the majority of known occurrences, and in most cases, the error first appears around 97% of the way through the upgrade.
If the 1903 update is the only one causing users trouble, they should try installing it again using the $GetCurrent file. If that is not successful, users can try using the Media Creation Tool’s Upgrade this Computer Now function as a convenient alternative that might help users get around the problem. Installing the update manually using the Update Catalog of Microsoft is another approach to get around the built-in WU component.
Still, a network-wide ad blocker, such as Pi-Hole can potentially be the root of this problem. If users use one, they have the option of either temporarily turning it off (during update installation) or completely deleting the tool.
The problem may occasionally arise as a result of a bug or system file corruption that ultimately affects the Windows Update component. In this case, users can refresh every Windows Update element or execute a few utility couples capable of fixing the corruption of system files (DISM, SFC, or Clean Install).
Cause of Error 0xc1900223
The 0xc1900223 update problem is not caused by a single, identifiable factor. Any of the below causes could be the root of that error:
- Windows Update Elements have Bugs: Corrupted data in the SoftwareDistribution and catroot2 folders might cause Windows Updates hiccups. The problem can occasionally be resolved by removing the SoftwareDistribution folder.
- System Files: Damaged system files may prevent Windows updates from working properly.
- There is no Windows Update service active: When Windows Update services aren’t activated and active, error 0xc1900223 is more likely to occur.
- Network Problems: Corrupted or out-of-date DNS cache data might cause network connectivity problems, which in turn can produce the 0xc1900223 error. Sometimes, DNS flushing can help with that.
Fixing the Error Windows Update 0xc1900223
Users can encounter the “0xc1900223” error when attempting to upgrade the Windows 10 installation. The problem most frequently appears while trying to set up the feature updates like v1903 or v1909. A network connection problem is indicated by the error code. Typically, it comes with the following error message:
Certain updates are not installed due to issues, but they can be tried again later. Numerous approaches to this issue can be used, including:
1. Execute Windows Update Troubleshooter
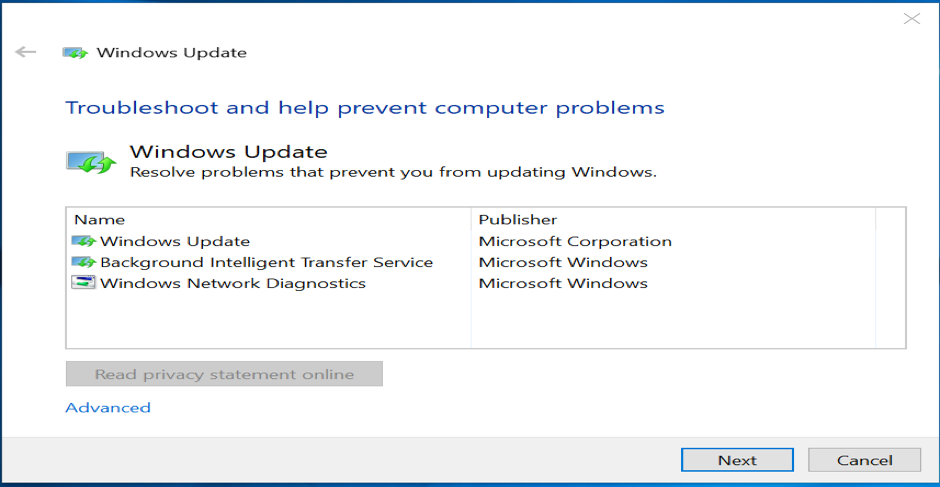
Users must first try Windows Update Troubleshooter to solve the issue. This will examine any issues with Windows Updates and operations of any associated services. By doing so, users might be able to resolve the problem. Using this Windows Updates Troubleshooter requires the following steps:
- Use the Win+I Shortcut key to access Windows Settings.
- Choose Updates and Security, then Troubleshoot, then Additional Troubleshooters from the Settings screen.
- From this list, choose Windows Updates Troubleshooter, and then launch it.
- Restart the computer after the procedure is finished to look for any errors.
- Users could additionally use this ‘Windows Update Online Troubleshooter’.
2. Disable the VPN Software
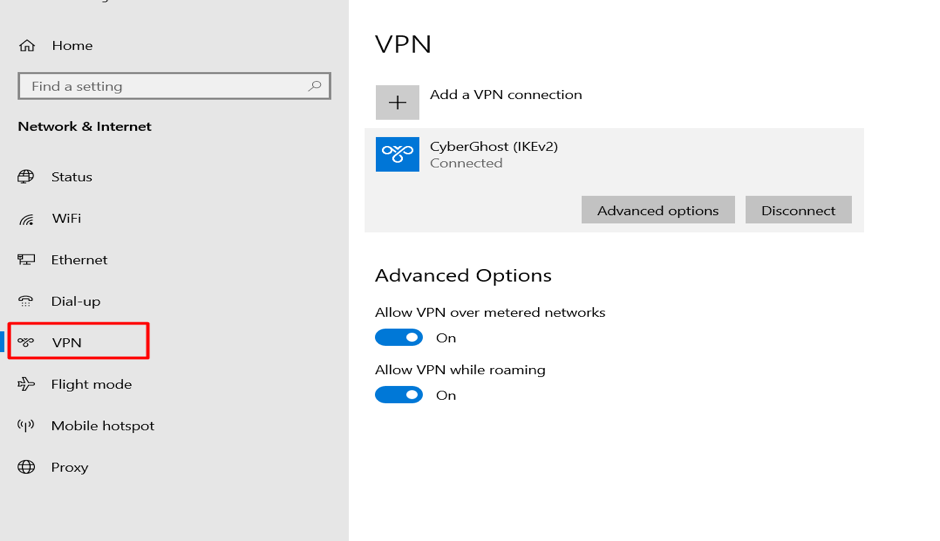
This error message may appear quite frequently if users are using VPN software. Deactivate the VPN connection in that instance, and then restart the computer. Install Windows Update once more when it starts up to see if that fixes the issue.
3. Perform SFC and DISM Tools
Also, it has been observed that this issue can arise from a system file corruption or a momentary malfunction. To fix any missing or corrupted system files in such a situation, users must first launch System File Checker and later DISM utility.
- Open the elevated Command Prompt initially to start it.
- Once it opens, enter the command line below to get it running.
sfc /scannow
- The operation will be finished in a little while. So, users are free to perform any other task users like until the system scans the text code.
- Restart the Windows device for the application of the modifications after a successful SFC scan.
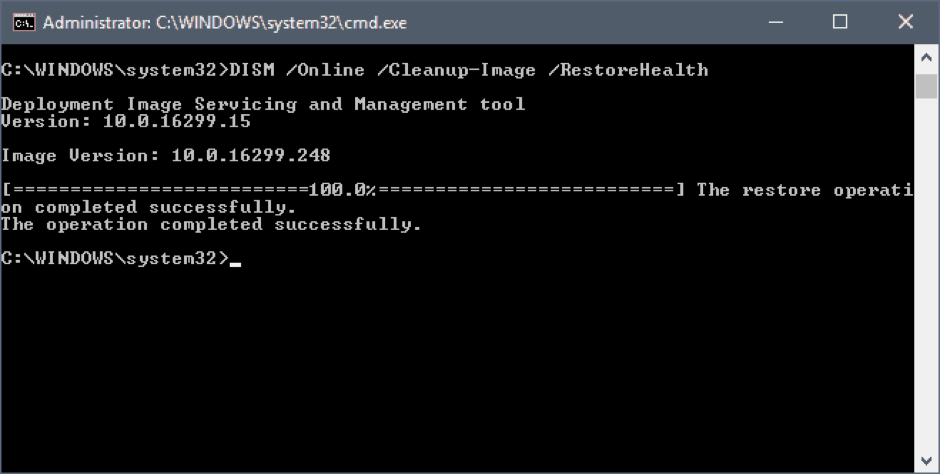
- After that, users will need to use the DISM application to fix the Windows system files. Below is how to perform:
- Enter the text code into the raised Command Prompt window:
Dism.exe/online/cleanup-image/scanhealth
Dism.exe/online/cleanup-image/restorehealth
- To let this work, users must press enter after each command line.
- Restart the device after completing the procedure to see whether the issue persists.
4. Disable Network-Wide Adblocker

Users might wish to temporarily turn off any network-wide adblockers they are running like Pi-Hole, to see if it makes a difference.
5. Flushing the DNS Cache
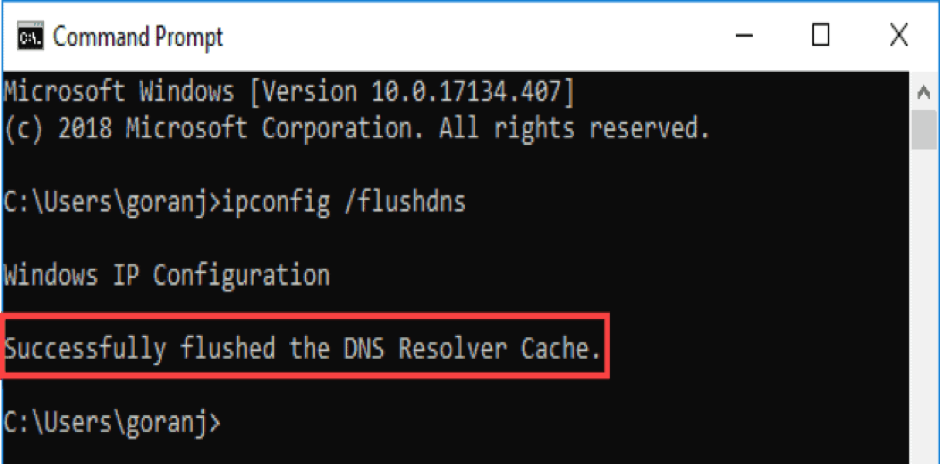
Sometimes a network irregularity can also cause an issue like this error code. Users might need to use the command prompt in this instance to flush this DNS cache. Users can follow these instructions to do it.
- Initially, click Start and then type command prompt.
- Run as administrator by choosing with the right-click menu on the Command Prompt.
- If the UAC window appears, select Yes to give the user administrative rights.
- Type the text code shown below into the window of the command prompt, hitting enter after each character:
ipconfig/registerdns
ipconfig/flushdns
ipconfig/renew
ipconfig/release
- Restart the computer after the aforementioned commands have been successfully executed to see if the issue has been resolved.
6. Execute Media Creation Tool

- Users can use the Media Creation Tool to resolve this issue if, despite running the Windows Update troubleshooter, they are still unable to update their Windows 10 installation.
- Go to the Microsoft page and click the Download Tool Now buttons beneath the Build Windows 10 Installation Media segment to start.
- Now open the executable file from the download location by double clicking it. If a UAC window appears during this, select Yes to allow administrative rights.
- On the computer, use the Media Creation Tool and then choose to Upgrade this PC right away.
- To proceed with the process, do as instructed on the screen. Please be aware that doing this will keep most of the settings, programs, and data in place.
- Restart the computer after users have finished the procedure to see if the problem was resolved.
7. Reset Windows Update Factor
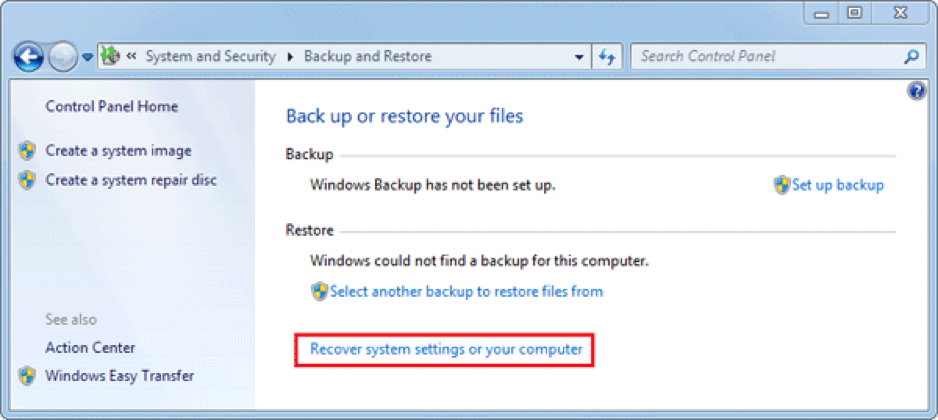
If none of the aforementioned fixes resolve the issue, a defect in a recent Windows update may be to blame. In this situation, users must use commands to retune Windows Update components. By following these steps, users can restore the default settings for Windows Updates.
Restart the computer after reorganizing the components file to see if the issue is resolved.
8. Install through the Microsoft Update Catalog Webpage
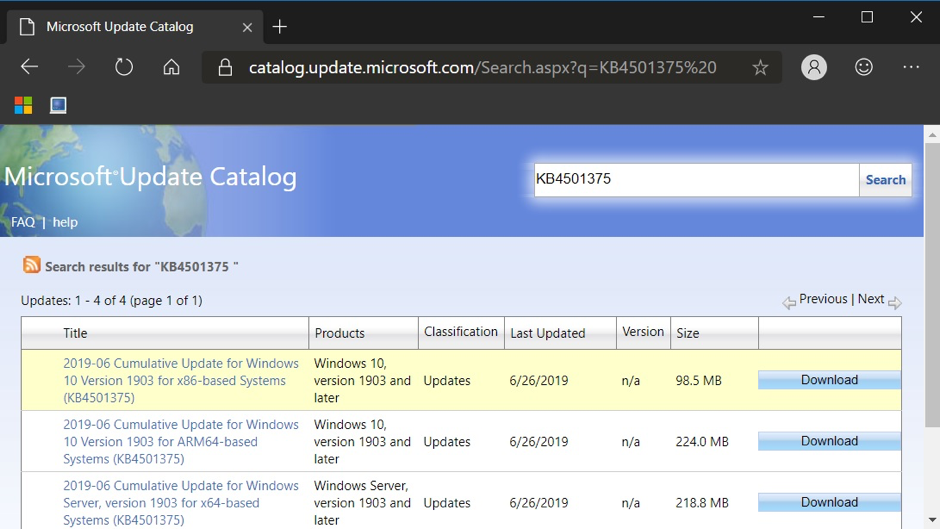
With the Microsoft Update Catalog website, users can manually install and download the website.
Wrap Up
Updating Windows 10 is necessary to be updated periodically, but occasionally users may get Error 0xc1900223. When users update the system to version 1903 or 1909, this issue or error frequently occurs. To resolve the 0xc1900223 issue while installing a Windows 10 update, follow the procedures listed below. Hopefully, the above solutions were helpful and made things easier. Keep in touch for more such updates and tech news and get the simplest solutions for all the problems.