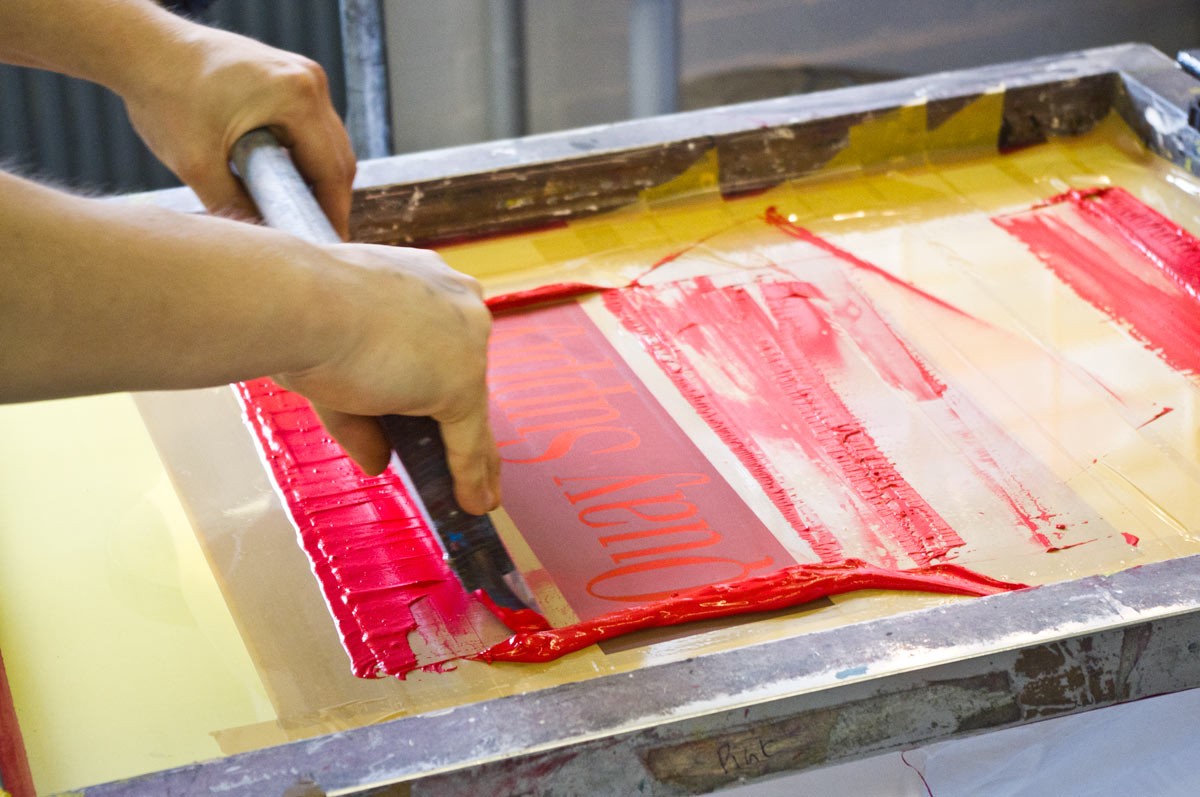
Here are some screen printing tips which you can use with every print run to enhance your product quality and lower time and inventory wastage.
- Check your screen printing set between every run
Sometimes the screw holding your screen-printing press may get loose with regular motion of the set. The loose screws make pallets and screens jiggle during printing which may lead to blurry prints.
- Begin with high quality graphics
You will not have a good quality screen print if you don’t use top-notch artwork. Make sure the image printed is of high resolution. If the resolution is low, the print will be fuzzy, regardless of how good you print. Also, the colors should be properly separated.
- Select the right screens and keep a check on the screen tension
Different screen-printing jobs require different mesh counts screen. Usually, printers are sold on one screen type but reputed shops keep different screens in their inventory including 110 mesh count to 400 and more. The low mesh count is all-purpose but you may need a finer screen for more detailed screen prints.
After selecting the right screen, it is essential to check the screen tension before starting the printing. With time, the screen tensions may get loose which may lead to blurry prints on your product.
- Set right off-contact
For the best screen print on your item, you should set proper off-contact before commencing printing. Off-contact is the distance between pallet and screen. It permits your screen to get in touch with the substrate during printing and get away cleanly, leaving a crisp image behind. For t-shirts, you may need an off-contact distance of 1/16 inch while for sweatshirts it should be 1/8 inch.
- Cure your ink right
Just running the items under a dryer isn’t sufficient to know they are properly cured. The plastisol inks require heat above 320 degrees to get properly cured. Every ink comes with a recommended curing temperature from the manufacturer. Thicker prints need more heat and lighter prints don’t need too much drying time. The best way to check for curing is a stretch test. Stretch the cured shirt till the ink stretches a little. The ink shouldn’t crack.
- Always perform a test run
No matter what type of printing you are doing, always perform a test before screen printing. The test will ensure that your registration is perfect and the screen-printing set has been correctly set up, your screens are set tight and clean and the dryer is properly curing the inks. It is simpler and more cost-effective to make adjustments after a test run than to throw some or complete screen-printing run.
A test run is important. With the right graphics, setup, running technique and apt testing, you can be sure that your screen-printing press will yield top-notch products for your clients.
Here at Key Gadgets, we offer to make setup and printing simple for you. We offer screen printing sets to simplify your job by printing smarter. Need to know more, come to us!
