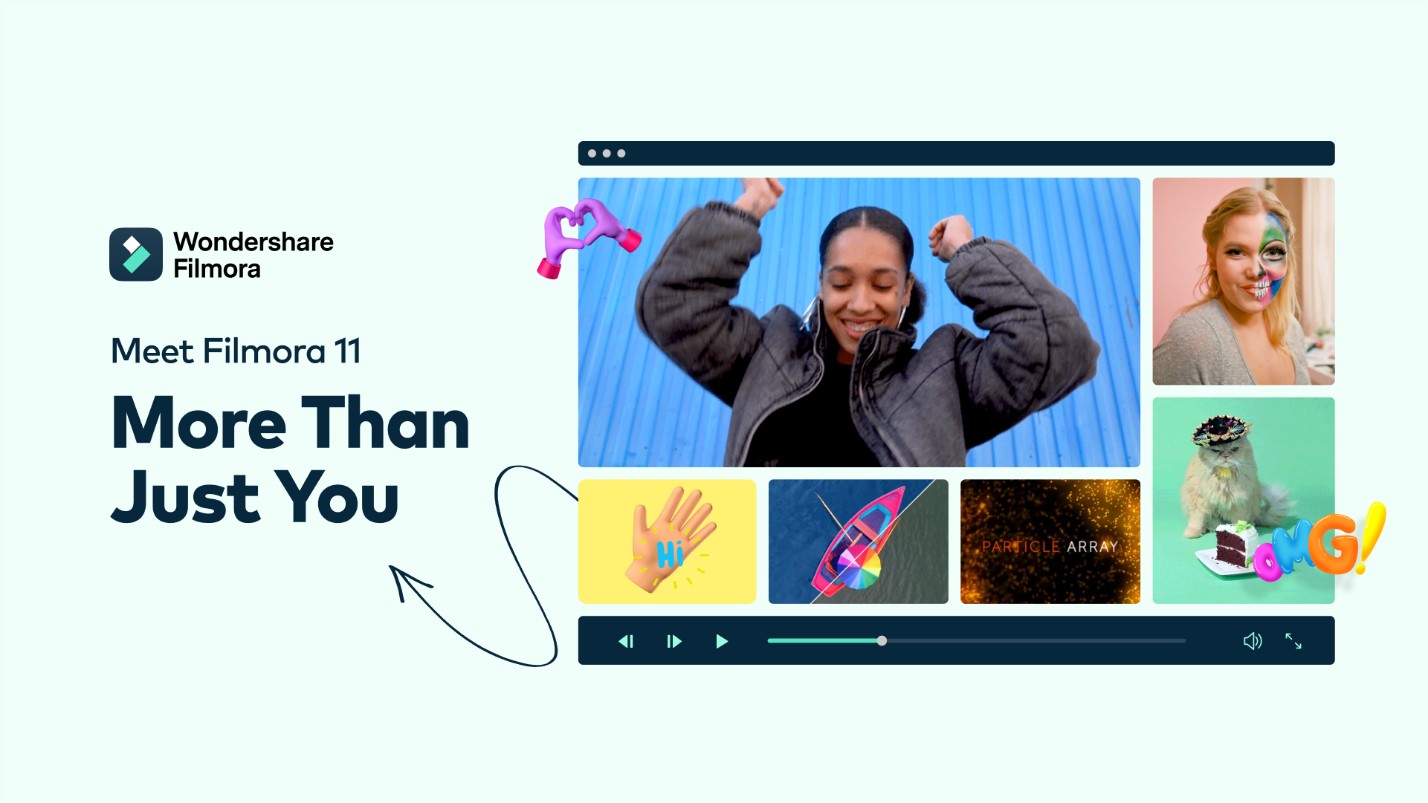
There has been a dramatic rise in the popularity of video content in recent years. More than 5 billion videos are viewed every day on YouTube. Videos are more prevalent on social media networks like Instagram reels and YouTube shorts. Even the current social media algorithms support video format over photos. No wonder why marketers prefer video to other formats.
Have you tried several video editor for Windows but not found the appropriate one? This article will demonstrate how Filmora create videos and why it’s used by millions of creators around the world.
Overview
With a very easy-to-use interface, Filmora Video Editor is also coupled with an advanced set of features makes it a truly promising option for both newbies and experts alike. The interface does not need you to have a steep learning curve.
The exclusive set of creative transitions, filters, titles, and motion elements will further make it one of the unique options you want to go with for the most creative experience. Moreover, you can choose pre-set video template to create videos efficiently or make professional-looking videos with advanced features like Speed Ramping, Motion Tracking, Speech-to-text, Color correction, etc.
How to Use WondershareFilmora X to Create a Video
Let’s take a look at how to use Filmora to create high-quality marketing videos. To illustrate, let’s say you want to make a video that would work perfectly on YouTube or another social media platform. To master Filmora, just follow these steps.
Step 1: Start a Project
After installation, you can select to start a new project option or simply go with Instant Mode, where you can find over 100 pre-set video templates, covering business, vlog, travel, and more.All you need to do is to import video clips and select templates, then Filmora will do the rest for you.
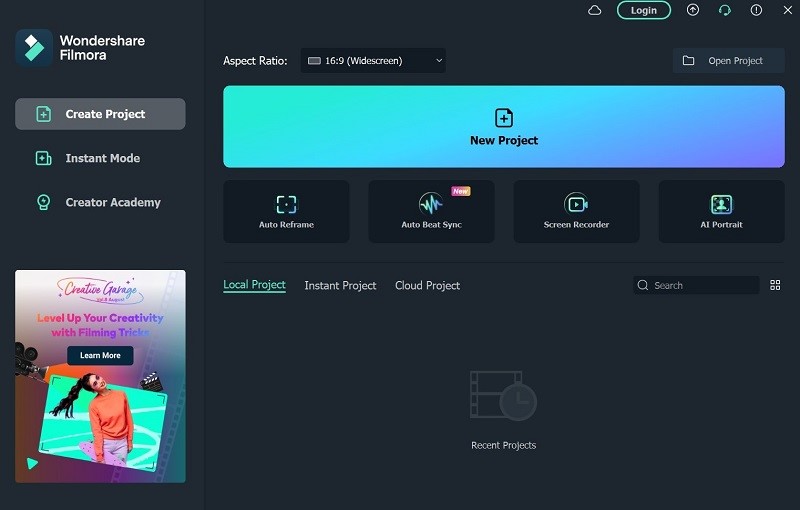
If you select New Project, you can set project Aspect Ratio on the main page or afterwards. The aspect ratio depends on the media platform you are going to upload your video on.Instagram’s optimum aspect ratio is (1:1) while YouTube`s standard aspect ratio is 16:9.
For this tutorial’s example, I’ll go withthe 16:9 aspect ratio, which is a conventional widescreen format, great for YouTube, and other landscape devices. Click New Project to edit videos in WondershareFilmora.
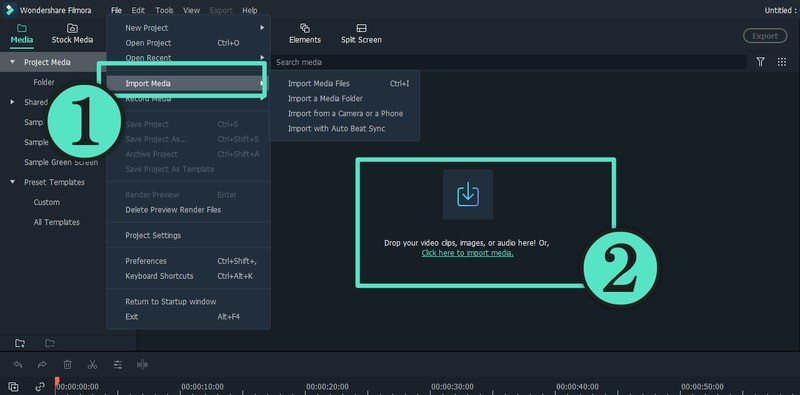
Step 2: Import Media
Video projects concentrate onthe footage, pictures, and audio. You can organize all the files in one folder so it will be easy to group files.
Then import your file folder. Filmora’s File > Import Media Folder option lets you import files.Or simply drag them to the Media Stock.
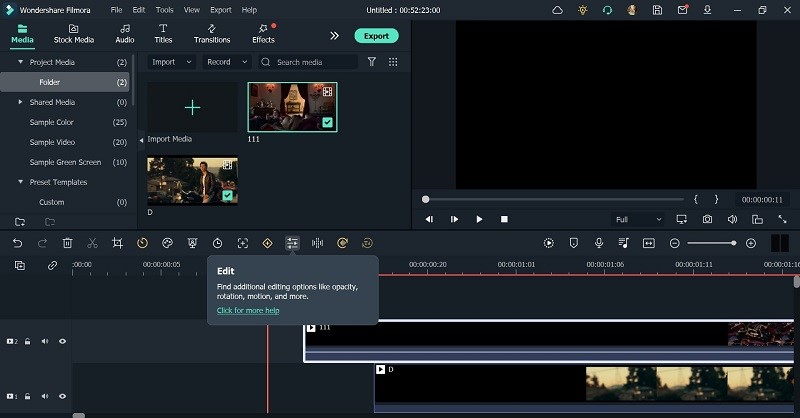
After importing a folder, thumbnails appear for each file in the app’s upper half. Double-click any thumbnail to preview Filmora.
Step 3: Add Clips to the Timeline
Drag and drop a clip from your media library into the timeline. Repeat for each video or photo in your project.
Filmora video editing software supports audio and numerous video formats. Most projects use music or narrations. Audio appears underneath video clips when you drag them to the timeline, so you can add audio to the video clip.
Step 4: Basic Editing: Adjust and Trim the clips
Videomaking involves editing clips that are not perfect. Even the best footage may need adjustments for your video production.
Once a clip is on your timeline, adjusting it is easy. Click and drag the clip’s left or right edges to shorten it.Split a clip. Click the scissors button in the app timeline to split or trim a clip.Press the spacebar to examine the footage as you work. This shows how your video is coming together. Add clips, trim them, or delete someWhile you work on your project.
Step 5: Add effects, transitions, overlay, etc.
From the top taskbar, you can find Transition, Effect, Title, Audio, etc., Browse your options and drag and drop them onto the project.
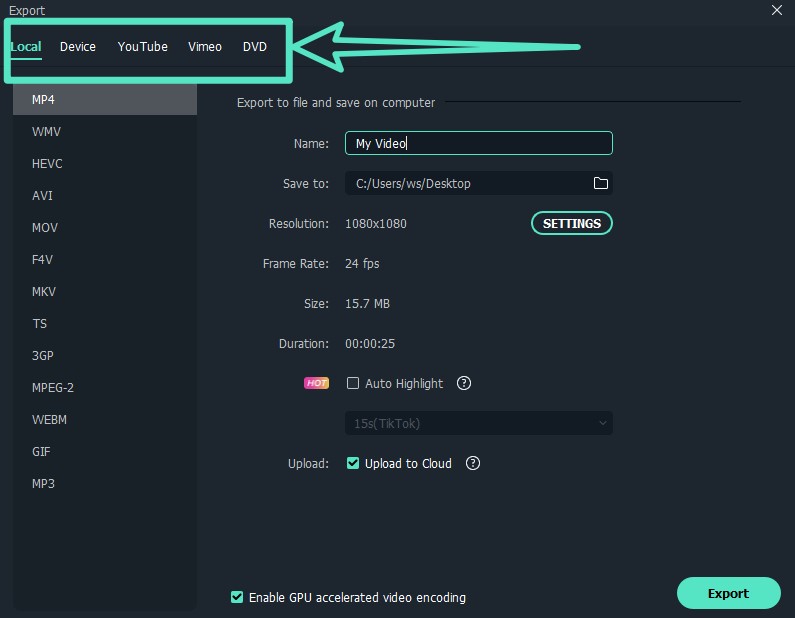
Step 6: Export Videos
Select the export button tosign in to YouTube or any other channel. Filmoraallows users to export videos in any format, and share them on YouTube, Facebook, Vimeo, or burn DVDs.Now use the Format tab to export using built-in pre-sets for quality and file size.
Key Features
Filmora is packed with many advanced features for professional video making. Check the details below:
Tons of Video Effects
Click the Effects icon with a clip chosen to add aesthetic effects. You’ll see a visual library of project-enhancing effects. The new open FX plugins- Boris FX and NewBlue FX allow you to add professional aesthetic transitions and effects to your videos with a few clicks.
Text Overlay
Go to the titles and drag and drop any of theeffects onto your video’s timeline. You can also add a personalized text effect in Filmora. Text effects show on their track in the timeline. Double-click it to edit and a custom menu will appear. Now replace text placeholders, change font size, etc.
The Text to Speech (TTS) feature or audio-to-text converter in Filmora lets you turn any text file into a voiceover, further enhancing your film.
Speed Ramping
The option lets you change the speed of a video clip from slow motion or standard speed to fast motion. Double-click your video or audio clip, and select your desired speed, and duration for the speed ramping.
Green Screen
This is an advanced overlay feature, that helps remove the background from a video or replace a video`s background with a digital or a virtual one.
Drag the original clips to the video track and green screen footage to the track, now double click and choose the chroma key to get the effects automatically
Audio Ducking
Use audio ducking options to lower the voice of the tracks behind. After adding your audio components, select the audio that you want to amplify, now right-click, choose to adjust audio, choose the ducking option and adjust the volume.
Here are a few of more options that Filmora has to offer:
- The newly available Easy-to-implement motion tracking option is accurate and reliable for newcomers.
- Creating a keyframe animation is vital for videos, but some apps make the process difficult. Filmora, however, allows you to Incorporate pre-made keyframe setups for simple animation with a click.
- With Filmora’scolor-matching tool you can keep a consistent color scheme throughout your video.
- The option of audio to text converter helps you convert your audio to the text within videos.
Availability and Plans:
Available on both Windows and Mac, Filmora provides a free trial version. You can explore the features before committing to upgraded version. For individual users, it provides different plans: yearly and perpetual; while for team/ company users, or educators, you can check more details on their website.
Sum up
Editing videos is as important as making them, and you can do so easily by using WondershareFilmora video editor. You can also find a full set of tutorials on their official YouTube Channel.