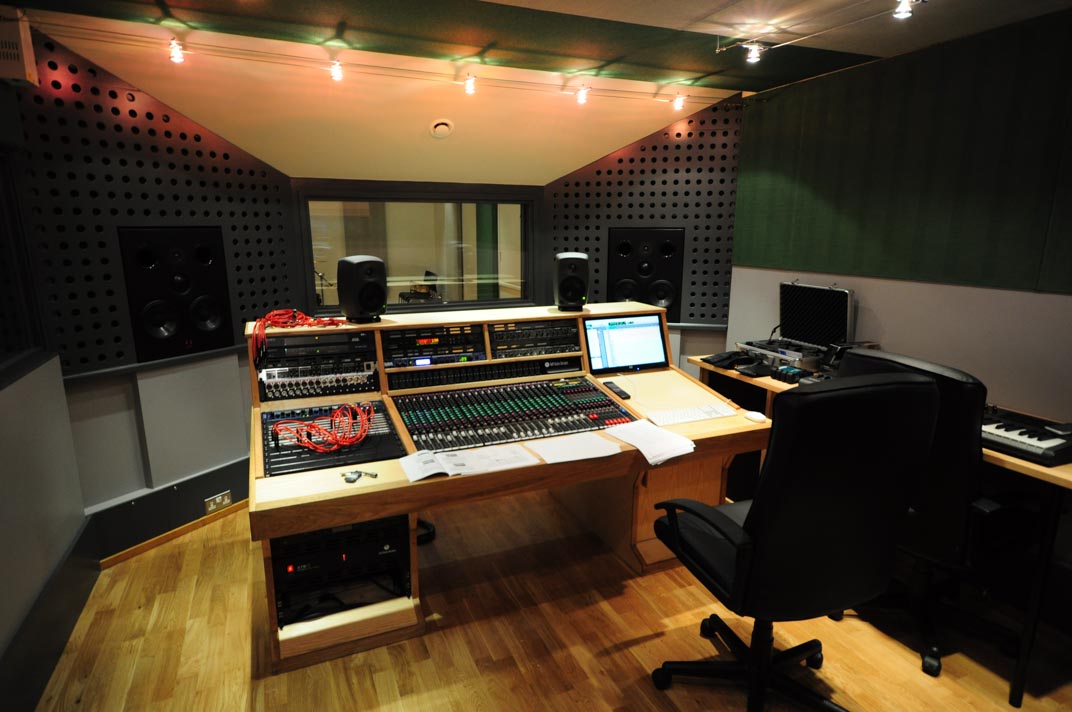
It’s easier than you might think to build a professional-sounding DIY recording studio. With the right space and proper equipment, you can create a great sounding studio to record your music in. In this tutorial, I’ll show you how to build one and talk you through some of the main things to think about.
Your Professional Recording Studio Space
Before I explain what equipment you need for a professional-standard recording studio, I’ll first talk about the actual studio space. It should be a room or are a that’s comfortable, convenient and works for you. I also highly recommend giving yourself more space than you need,so that you can fit extra equipment (or musicians) in later.
Treating The Acoustics In Your Studio
After deciding what space to use, the next step is acoustic treatment to get that professional sound quality. This includes making sure any doors or windows are completely sealed when closed to stop sound escaping. Don’t forget that sealing your studio space not only means sound can’t escape, but air can’t get in. To ventilate your studio, you can make an ‘acoustic box’ out of MDF. It features an S-shaped duct to keep oxygen flowing, as well as acoustic foam padding to maintain sound quality.
I would also suggest thinking about bass traps, acoustic panels, and diffusers, which absorb sounds that’ll bounce around off walls and ruin the professional audio quality you want. For the best results, consider contacting acoustic foam providers in Singapore to ensure you get high-quality materials. An elevated floor using wood and foam blocks is another good idea to cut out noisy vibrations. It sounds like a lot of effort, but it is worth it in the long run to get professional – level studio audio.
Choosing The Right Studio Equipment
You can’t create a professional recording studio environment without the right equipment, so let’s startwith the essentials. A good computer is a must, but I won’t tell you to choose a Mac or a PC – go with what you’re familiar with. But you will need a Digital Audio Workstation (DAW) whichever you choose. This software will let you record, edit and mix your music on your computer.
An Audio Interface is another important piece of professional recording equipment. This hardware will connect your computer to the rest of your kit and will turn analogue sounds into digital signals.
Now we have those essentials, let’s move onto microphones. For professional studio sound quality, you only need to start with one (maybe two). The mics you choose will depend on the instruments or vocals being recorded.Don’t forget to check out theXLR Cables available from RS Components– an absolute must for any professional recording studio.
Don’t Forget Headphones + Monitors
Any professional-quality DIY recording studio won’t be complete without headphones and a set of monitors. I recommend spending a little more on headphones for your home studio. You will need isolation (studio) headphones, which let you hear exactly what you’re recording.For your monitors, remember these are different from regular computer speakers. Studio monitors have a completely flat frequency response to let you judge your mixes clearly.
Once your space is created and all your equipment hooked up, your professional-standard recording studio is ready for action. It’s a good idea to experiment first and used to your studio surroundings – that way, you can record and mix great-sounding audio in no time at all.
