The Raspberry Pi is a tiny computer, about the size of a deck of cards, that completely changed the game for tinkerers and DIYers in the PC industry, when it came to the market in 2012. Nowadays, it’s the world’s third best selling, general purpose computer and chances are you have one of these boards tucked away somewhere if you’re even remotely interested in computers.
If you’re sitting at home with a circuit board, but have no idea where to go from there, don’t worry. Below is a guide for beginners, to help you get started with your Raspberry Pi.
You will need
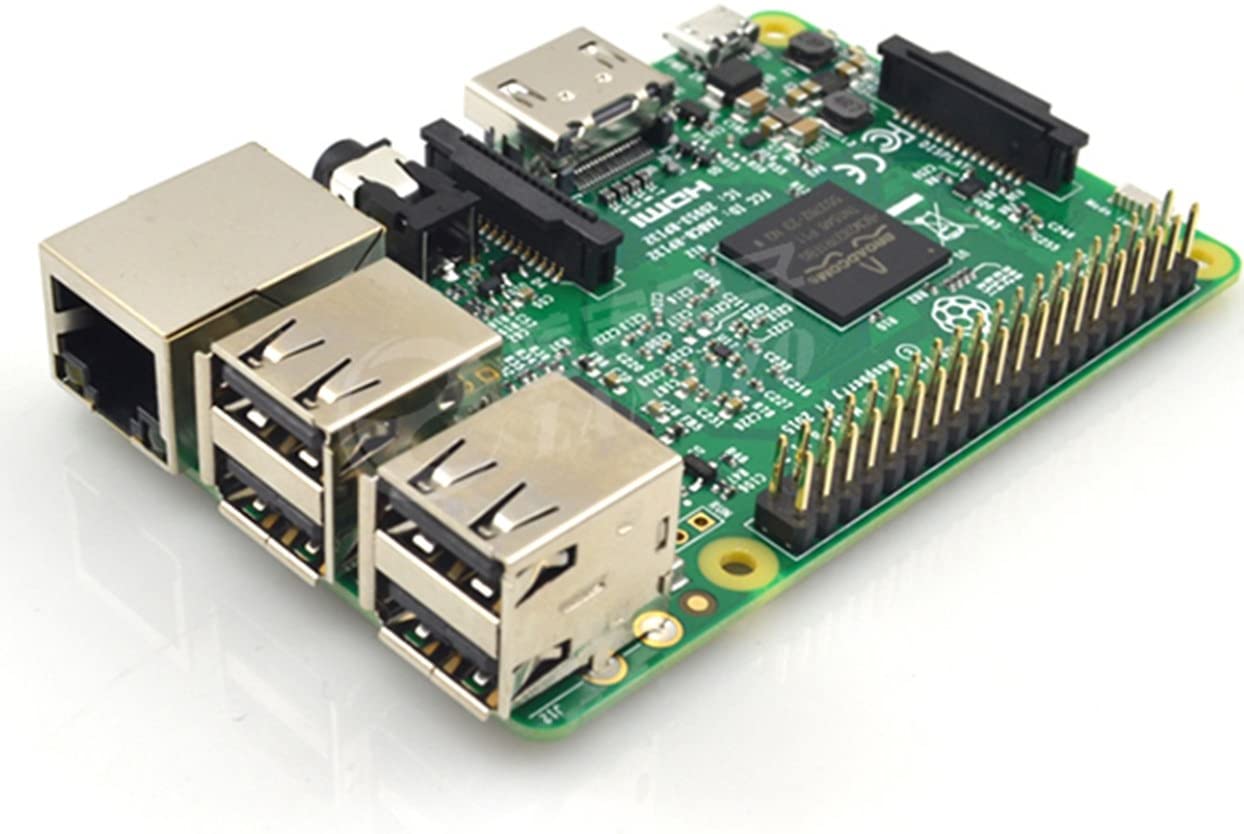
The Raspberry Pi is obviously the heart of your project. If you don’t have one already, be sure to order yours from a reputable vendor like The Pi Hut. Of course, you won’t get very far with just the circuit board. In order to get your Pi system working, it will need a power source. Most versions of the Pi use microUSB for power delivery, but the Raspberry Pi 4 upgrades to USB-C. You are likely to have one of these chargers lying around the house, but it is recommended that you purchase a power adapter designed for the Pi, in order to give consistent power to the board.
Most Pi models use microSD cards for storage, though if you have the original Pi model A and B, you will need a regular SD card, as well as a way to plug the SD card into your computer. It is also a good idea to have a case for your project, rather than leaving it out in the open. Finally, you will need a mouse, keyboard and HDMI cable. You may not want a mouse and keyboard for your entire project, but it’s good to have them on hand for the initial setup.
What software will I need?
In order for your Raspberry Pi to work, it needs an operating system. Raspberry Pi OS (formerly Raspbian) is the official operating system endorsed by Raspberry Pi, though there are other systems on the market that work just as well. Many vendors sell SD cards with a Raspberry Pi OS installer called NOOBS pre-installed, but the software can easily be installed yourself using a computer that has an SD card port or with an SD card reader.
Setting up the Pi
Begin by attaching all of the supplies we mentioned above to your Raspberry Pi, finishing with the power supply. Once the power supply is connected, you will see a red light and raspberries on your monitor. The Pi will then boot up into a graphical desktop.
After this, you will be prompted to complete the rest of the setup, beginning with choosing your country, language and timezone. The rest of the setup will include setting up a password, connecting to your WiFi network (unless you choose to connect by ethernet cable) and then letting the wizard check for updates to Raspberry Pi OS and install them. Once you have completed all of these steps, you will either be presented with the option to reboot, or select done.
There you have it. A fully setup Raspberry Pi. Hopefully you will have lots of fun with your new project!